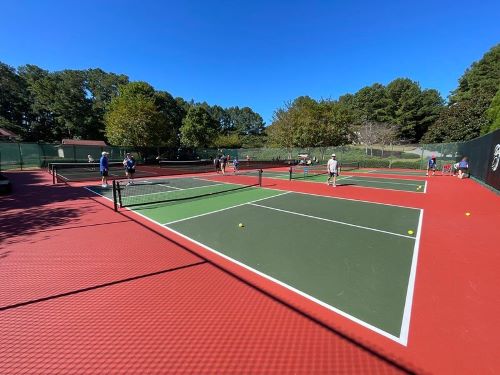
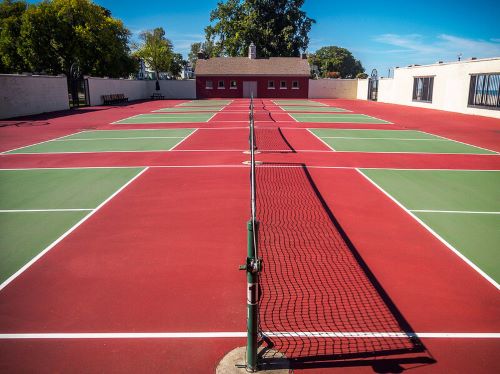
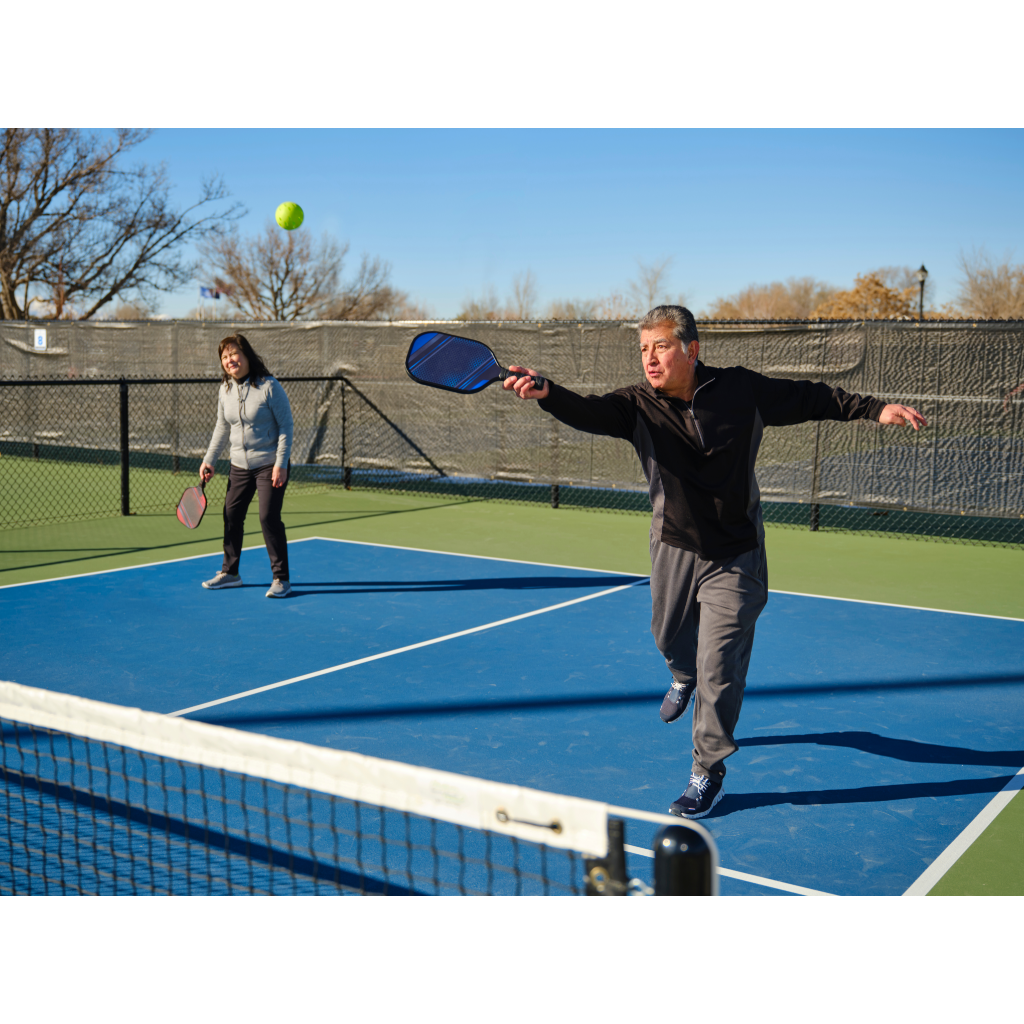
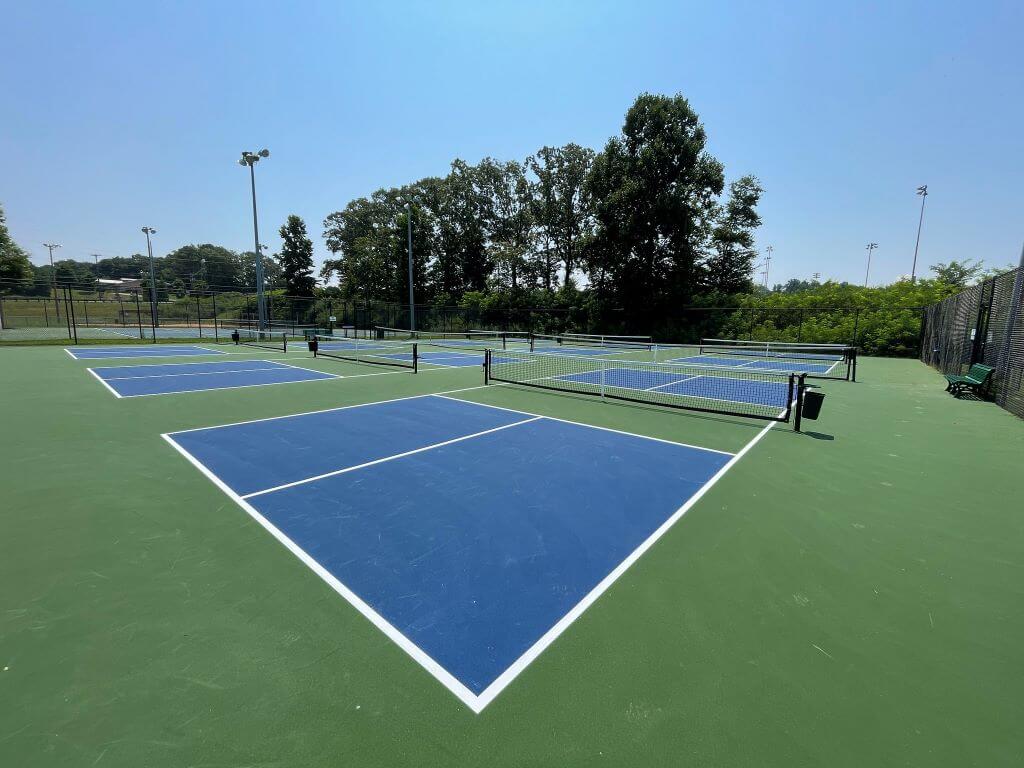
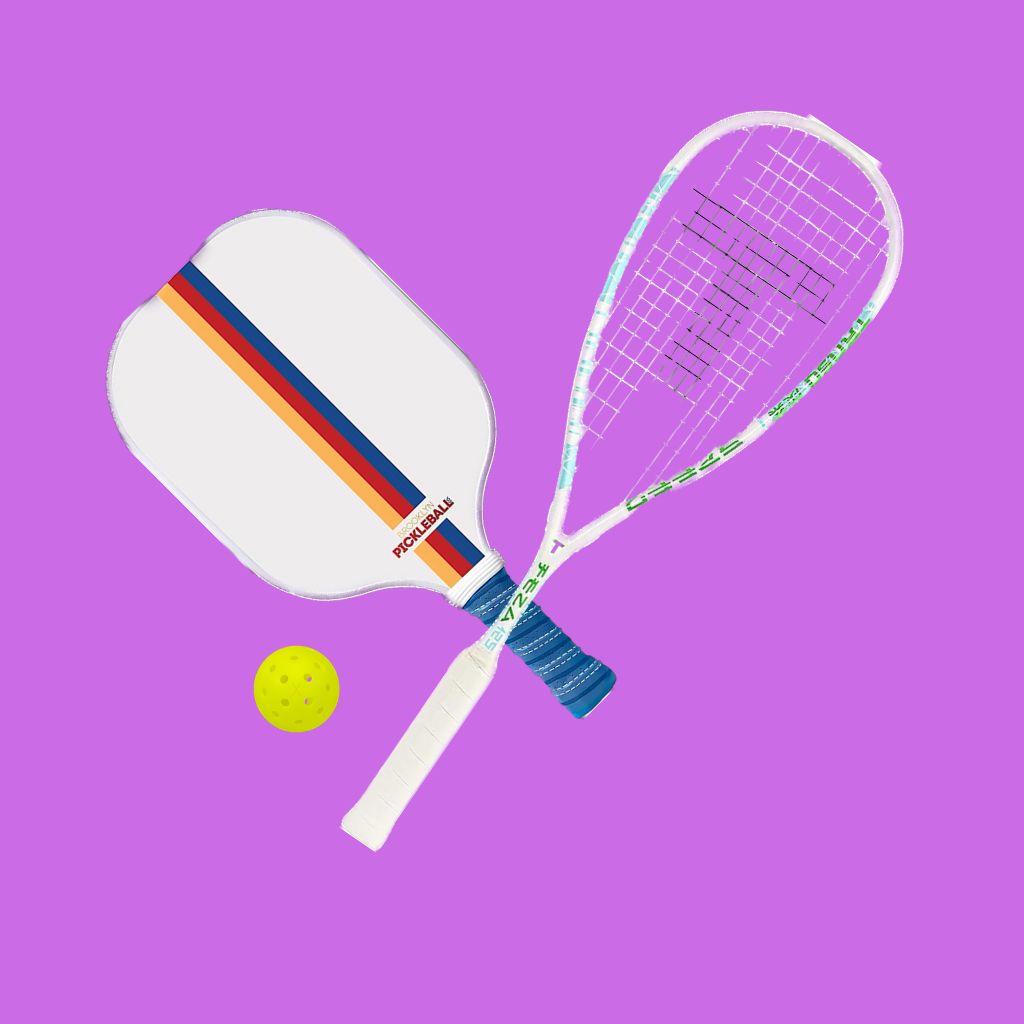
Pickleball is an increasingly popular sport that combines elements of tennis, badminton, and table tennis. Whether you’re a recreational player or competitive athlete, having your own pickleball court can provide hours of fun and exercise.
In this blog post, we’ll look at how to build an outdoor pickleball court by combining USA Pickleball’s outdoor court construction guide with our own personal experiences to give you the best tips.
Why Build an Outdoor Pickleball Court?
There are advantages and disadvantages to making an outdoor pickleball court. Let’s break them down in the table below.
| Advantages | Disadvantages |
|---|---|
Outdoor pickleball courts are less expensive to build than indoor courts, as you only need a large enough plot of land to build on. Indoor courts require an entire structure to be built from the ground up. |
Outdoor courts require more maintenance than indoor courts, as they are open to the elements. You’ll need to regularly clean your court to keep it in tiptop condition, and clean it out thoroughly before playing, especially after a storm. |
Outdoor courts can be larger than indoor courts, which allows for more room for players to move around and play. |
Outdoor courts are more harshly affected by weather conditions like rain, snow, and wind. |
Playing outdoors means that players will have more natural light, which can be beneficial for their health and well-being. Players are exposed to vitamin D, which is important for bone health. |
Vitamin D is good for you, but too much exposure to the sun’s UV rays can not only harm you, but also damage the surface of an outdoor court. So, it is important to choose a material that is resistant to fading and cracking. |
It might sound strange, but outdoor courts are actually less noisy than indoor courts. When indoors, the sound of multiple balls being hit and bouncing around simultaneously can be quite distracting. |
Ultimately, the best type of pickleball court for you will depend on your individual needs and preferences. If you are looking for a lower-cost option with more space and natural light, then an outdoor court may be a good choice. However, if you are concerned about weather conditions or maintenance, then an indoor court may be a better option.
How to Build an Outdoor Pickleball Court
It’s time to get into the nitty gritty details of how to build your own outdoor pickleball court. Grab a pen and paper and take note!
1. Choose the Right Location for Your Pickleball Court
The first step in building an outdoor pickleball court is choosing the right location for it. You’ll want to find a space with enough room for the court and a bit more for the surrounding area where players can move around freely, and space around the perimeter of the court for nets, padding, and other equipment.
That means finding an area that is bigger than the standard pickleball court size, which is 20 feet wide by 44 feet long (or 8.2 meters wide by 17 meters long). You should also consider whether or not you want (or need) to have access to power outlets, water, and any other necessities in the location you want to build on.
It may also be helpful to choose a spot with plenty of shade and good drainage so that you don’t have to worry about having standing water on your court after a storm or heavy rainfall. Keep in mind that water is your worst enemy as it can cause the surface of your court to warp, crack, or fade over time.
2. Marking the Boundaries of Your Court
Once you’ve chosen the perfect spot for your pickleball court, it’s time to mark out its boundaries. Using string and stakes, create two parallel lines that are 20 feet apart from each other. That will be the width of your court. Then draw four lines perpendicular to these two lines. These will be the length of your court (44 feet).
Finally, use chalk to clearly mark where the net poles should go and where the boundary lines are located so they’re easy to see once you start building your outdoor court.
We recommend doing this step multiple times just to make sure you have the measurements correct.
3. How to Prepare the Ground for Your Outdoor Pickleball Court
Before you begin construction on your new pickleball court, it’s important that you prepare the ground properly. This means removing any debris such as stones, or vegetation from the area where you plan on building your court. Doing so will ensure that your new surface remains level and even when finished.
4. Choose a Surface
After preparing the ground, it’s time to decide what kind of surface you want for your new pickleball court.
Concrete, asphalt, and dirt are all good options depending on how much money and effort you want to put into the court’s construction and maintenance. Each surface has its advantages and disadvantages so make sure to do some research before making a decision!
Once you’ve decided on a surface type, follow any installation instructions closely to ensure proper installation and lasting performance of your new court.
5. Choose a Surface Coating
This next step is optional but highly recommended, especially for outdoor pickleball courts. Applying the right surface coating on your outdoor pickleball court can drastically extend your court’s lifespan by protecting the underlying surface from the weather. This makes maintaining your court easier to do.
In terms of gameplay, a surface coating can help to ensure that the ball bounces consistently, which is essential for fair play. It absorbs shock, making it easier on the joints, and provides traction to prevent players from slipping and falling on wet and icy courts.
Not to mention, it adds a splash of color and design to your court, and reduces glare!
If you are considering building an outdoor pickleball court, I highly recommend finding the best pickleball court surface. It is a small investment that can have a big impact on the lifespan, safety, and enjoyment of your court.
6. How to Install the Net and Poles
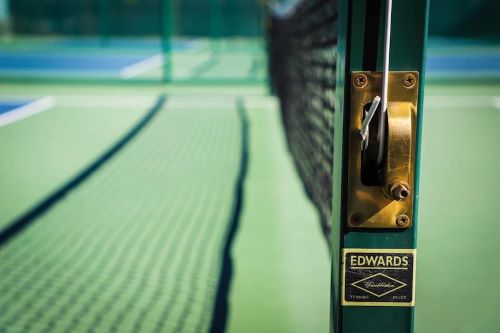
After choosing a surface for your court, it’s time to install poles around the perimeter so that you can set up nets at both ends of your court.
Make sure that these posts are securely anchored into place so that they won’t shift during play. If necessary, add padding around them for extra safety during games with more than two players!
Once installed correctly, simply attach nets at both ends using rope or bungee cords—make sure they’re tight enough so that they don’t sag during play, while still giving enough flexibility when balls hit them during games.
7. Add Padding to the Net Posts and Backboard If You Want Extra Safety
If you plan on playing with younger kids or elderly adults who may be more prone to injury, then add padding around all posts (including those holding up nets) as well as around any backboards.
This padding will help cushion any contact between players, while also protecting adjacent walls or structures from stray balls. It also helps protect against falls from high-intensity rallies, ensuring everyone stays safe during their games!
Additional Considerations
-
Perimeter Fencing
If you want, you can install a fence around the court to keep balls contained and players safe. The recommended height for perimeter fencing in an outdoor pickleball court is 10 feet. However, a 4-foot fence is also acceptable as long as the top of the fence is padded.
The fencing should be made of a material that is rust-resistant and safe for players, such as wire or chain-link fencing.
-
Lighting
Consider adding proper lighting fixtures on your outdoor pickleball court so you can play both during the day and at night. LED lights are energy-efficient and long-lasting. However, you can also use other types of lights, such as metal halide and high-pressure sodium lights.
Make sure to install the lights on both sides of the court, and at the right height. This means at least 18 feet above the playing surface. You want it high enough that it is evenly distributed across the court with no glare, but also low enough so the light isn’t spread too thin.
The lights should also be in a safe location where they will not disturb anyone, or where balls can’t easily hit them.
Another option to consider: dimmer switches. It’s an added expense, but think about it! You’ll be able to adjust the brightness of your outdoor court. Not too bright if you’re playing at sunset, and the brightest option if you’re playing well into the night.
Maintenance Tips for Keeping Your Court in Good Condition
Having an outdoor pickleball court requires constant maintenance to ensure it stays in good condition. For starters, pickleball courts need to be kept level and all of the edges should be mowed so they are even throughout.
Also, it is important to make sure there are no cracks on the playing surface. These can cause pickleballs to become stuck and potentially trip up players.
Lastly, remember to check for any deterioration in the pickleball court that might be due to weathering or natural disasters. Repair any and all damages as soon as you see them! If you don’t, the problems will only get bigger, and they’ll be even more expensive to fix down the line.
By following these simple maintenance tips, your pickleball court will stay in good shape. You can safely enjoy pickleball in your own backyard and keep your newly built outdoor pickleball court in good condition for many years to come.
Play on Your New Outdoor Pickleball Court!
Now all that’s left is to enjoy countless hours of fun playing pickleball on your brand-new outdoor courts! Make sure everyone follows safety guidelines such as not running too close together or chasing after balls too hard in order to keep everyone safe while they enjoy their game.
With these steps, anyone can easily build their own outdoor pickleball court. From choosing the right location to preparing the ground correctly, all the way through installing netting systems and light fixtures safely—these tips should help guide you so you can start making and enjoying your own outdoor court in no time at all!
Get measuring and start building!


