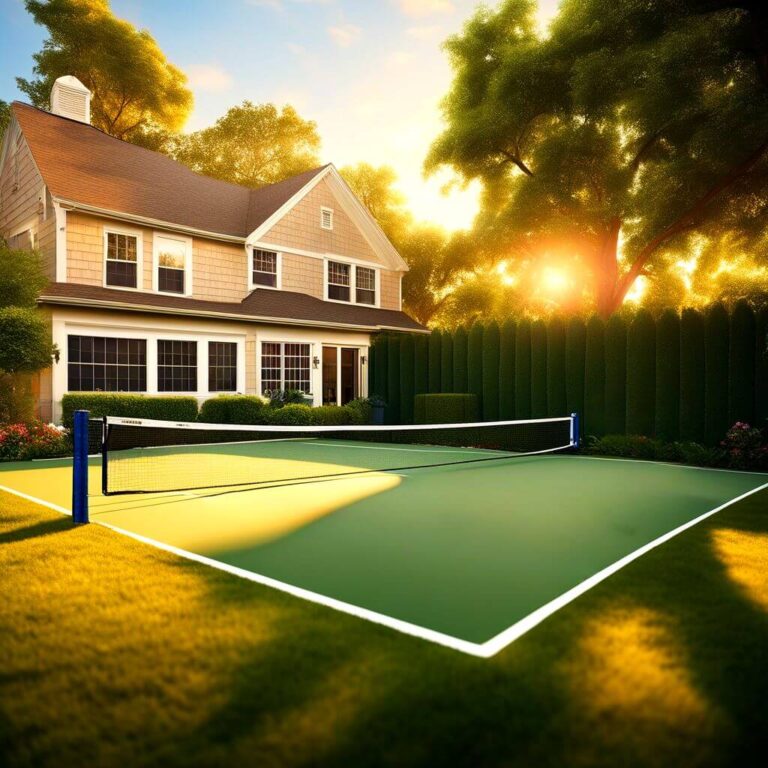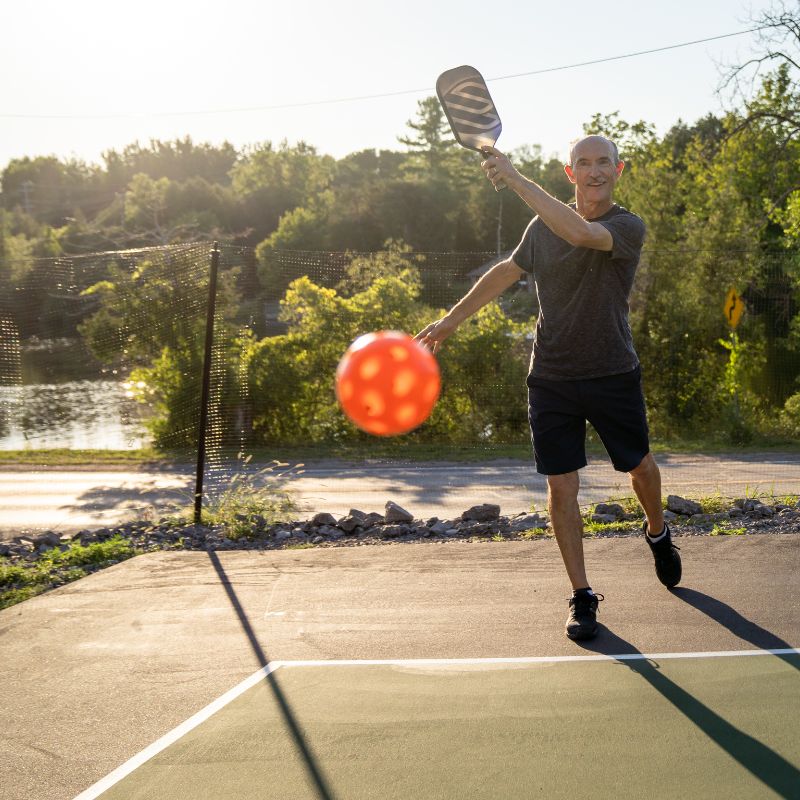
Have you ever wanted to train your pickleball skills but don’t have a court near you? Believe it or not, you can actually just set one up at home! A pickleball court is relatively small compared to other courts in racket sports, so you won’t have a problem fitting one in your own backyard.
All you need is a few materials and some resourcefulness. We will guide you through the steps on how to make your own backyard pickleball court and the things you need to consider.
Editor’s Note: Read Before Proceeding
Some of the materials can be quite expensive. But, never fear, we’ve provided some alternatives that you can use instead. You can still make a pickleball court on a budget.
We meant it when we said that this is a complete and thorough guide on everything there is to know about making a backyard pickleball court. For pickleball enthusiasts who just want a court in their backyard, you won’t need to do every single step in this guide. But, if you don’t want to spare any expense or simply want to know what you’re getting yourself into if you’re planning to make your own pickleball court, read on.
How To Make Backyard Pickleball Court
There are two types of backyard pickleball courts you can build in your backyard: temporary makeshift courts and permanent hardcourts. This all depends on your budget and preference but the steps to do them are pretty much the same.

Difference Between Makeshift Court and A Permanent Hardcourt
To clear things up, let’s differentiate what is a makeshift court from a permanent hardcourt.
-
Makeshift Pickleball Court
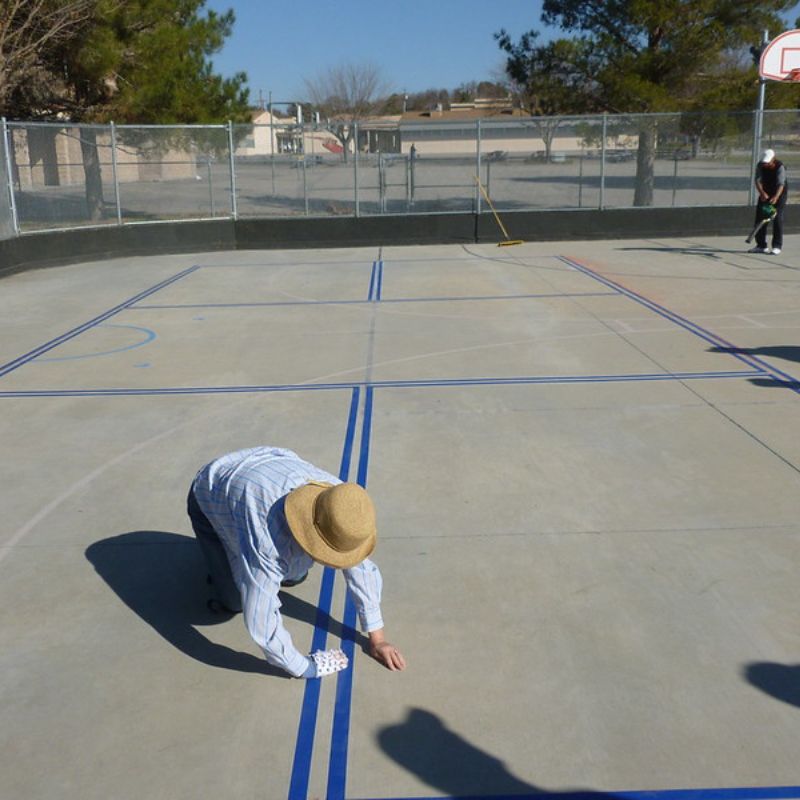
This is a temporary court that is as quick to set up as it is to remove. This can be done using a collapsable pickleball net and temporary markers such as chalk or vinyl markers.
Simply mark the necessary lines—like the perimeter, kitchen line, and center line—set up the net, and voila! You are set to play pickleball. You’ll want to set your makeshift court over concrete or asphalt surfaces since they are sturdier. Grass is not the best surface to play on, but you can actually still play pickleball on grass. Just check out our guide!
-
Permanent Pickleball Hardcourts
On the other hand, permanent hardcourts are the courts we see in clubs and sports complexes. They are courts with their own space, marked by permanent lines, markers, and a fixed net. To build permanent hardcourts, you’ll need to prepare the ground, set concrete, and finish it up with paint.
Contractor or No Contractor?
We recommend only hiring a contractor for really big projects—like if you plan on turning your backyard or driveway into a permanent hardcourt. If you want a standard court in your backyard with a wired fence, lighting, and all, you must have an ample amount of space and a contractor to assist you with the construction.
If you just want to make a makeshift pickleball court instead, you can do it yourself. Hiring a contractor costs a lot of money, which can otherwise be spent on the court you’re trying to make. So, keep that in mind when deciding between getting a contractor or doing it yourself.
Backyard Pickleball Court Dimensions
A backyard pickleball court should ideally follow the standard pickleball court dimensions, which are 20 ft wide and 44 ft long. The kitchen line should be 7 ft away from the net on both sides. The rest of the 15 ft will become the service zone. Draw a centerline in the middle to distinguish the left from right service zones.


Steps On Building Your Own Backyard Pickleball Court
Here are the steps on how to build a pickleball court in your backyard:
-
Do an Inspection of Your Backyard
Before actually getting to work on the court itself, it is always best to inspect your backyard first. This is to get an idea of what you are dealing with and the possible modifications you will need to do when building your court.
While checking your backyard, ask yourself the following questions:
- Is the surface leveled? Cementing and leveling the area will add to the cost.
- Is there a lot of debris in the way? Debris can be large stones, metal scraps, wood, trash, and the like.
- Is there adequate drainage? You’ll want to build your pickleball court in an area with good drainage to prevent the court from becoming muddy or slippery.
- Are there any overhead obstructions? Make sure there are no overhanging branches or power lines that can interfere with play.
- Is the soil too soft? If yes, you’ll need to compact the soil before laying down the cement.
You should also keep an eye out for other things that might get in the way as you start making your pickleball court. This includes pipings, hazardous materials or substances, and the like.
-
Make a Sketch or Visualize Your Future Pickleball Court
Now that you know what you are working with, it is time to visualize your court’s design. Where do you want it positioned? Do you want it painted?
You can add a lot of things to your court’s design, so draw them up first before making the markings permanent. Then, make a list of all the supplies you will need to make your vision come to life.

-
Gather Supplies
This is the part where you find a contractor to do your bidding—if that’s the route you wanna go. Meet up with the contractor (it’s better if they come over to your house so they can see for themselves what they have to work with). Show them your sketch and ask for a quote.
The contractor will give you an approximation of how much you’ll be spending in total. If you agree to the budget, the contractor will then draw up a list of supplies for you to buy. You can head to your local Home Depot and gather the supplies yourself, or let your contractor do it since it’s part of their job description.
-
Lay out The Perimeter
This is an important step to establish just how big your court will be. Once you’ve decided whether you want a standard court or a smaller one, use a piece of rope or chalk to draw up the perimeter of your court.
-
Lay the Groundwork
This step depends on what type of ground you are dealing with. If your backyard is already covered in concrete or asphalt, you just have to clean it up and get to painting. Alternatively, you can mark the perimeter lines with chalk and subdivide the court zones like the kitchen and the service areas with chalk as well. This is a quick but temporary way to set up a makeshift court.
You don’t need to be super accurate in subdividing the areas. Just adding placeholders will do. We’ll be going through how to finalize the different pickleball court zones later on.
If your backyard is covered in grass, dig up the area and cement it first. You can’t play proper pickleball on grass—you won’t be able to generate enough bounce. Concrete courts are the way to go.
-
Mark the Edges or Lines
Now that you’ve drawn your lines, it’s time to finalize the edges and lines. Make them permanent using painter’s tape or paint. This is for permanent hardcourts. If you are only looking to set up a temporary makeshift court, you can make do with chalk or chalk dust.
-
Set the Net
Set up a portable net or a permanent net along the middle of the court. A permanent net will require you to set the poles into the concrete. A portable net can simply collapse into its case when not in use.
Regardless of whether you’ll be using a portable or permanent net, make sure that it is 36 inches high at the edges and 34 inches in the middle, as nets tend to sag in between both poles. The poles must be about a foot away from the sidelines.
Setting Up and Marking The Court Zones of Your Backyard Pickleball Court
Setting up the court and getting the measurements right is a tough task, especially if you’re doing it alone. Fortunately, we got your back.

Here is a guide on how to lay out the perimeter for your backyard pickleball court:
- Decide where the first corner will be and mark it out.
- Measure a 44-foot-long line from the first corner. To ensure the line is straight, you can draw the line parallel to a wall, fence, or driveway.
- Use chalk or string to mark the first line.
- Make the first corner of the court by measuring a 20-foot-long line perpendicular to the first line. It needs to be exactly 90 degrees, so make sure to use a triangle.
- Use chalk or string to mark the second line.
- Repeat step 4 until you have a perfectly rectangular court with 90-degree angles on all four sides.
- Close the rectangle by connecting the open ends.
After that, you should have your court perimeter. To check if the measurements and angles are correct, you can measure the diagonals of the rectangle. Each diagonal should measure about 48 feet—more or less.
Now that we have our perimeter, let’s get to subdividing the court into different zones:
- First, start at the first corner. Measure 15 feet along the sideline, which is the longer side of the court. Mark it with an X using chalk or simply add a marker.
- Do the same on the other sideline. Mark an X there as well.
- Connect both X’s to form the kitchen line.
- Now, the kitchen line and baseline should both measure 20 feet. Find the middle of both and mark an X. The lines on either side of yours X’s should be 10 feet long.
- Connect both X’s to form the centerline. This will divide your service zone into right and left.
- Next, repeat steps 1 through 5 on the other side of the court.
- Finally, find the middle of the court (which is 22 feet from either baseline) and set up your net right down the middle.
DIY Backyard Pickleball Court Materials
We made a list of the materials you need to have when making a DIY backyard pickleball court. Note that you can add more materials and steps to the mix—like waterproofing. The choice is yours, depending on the court you want to make.

Pickleball Net
You mustn’t forget the net! This is the most important part of your pickleball court as it is what makes a pickleball court, well, a pickleball court. Remember that pickleball nets are low to the ground and measure 36 inches high at the sides, but 34 inches high in the middle.
Tape Measures
You’ll need tape measures and steel tapes to accurately measure your DIY backyard pickleball court dimensions. Find two tape measures that can measure up to 50 ft or longer. Use the first tape measure as a placeholder and the second one to measure the subdivisions of the court.
Chalk
Use chalk to mark the perimeter temporarily before painting. On a temporary court, you can also use chalk to finalize the lines. In the absence of chalk, chalkdust can do the job just fine.
Rope or String
A rope or string is a good alternative to chalk when marking the perimeter before painting. It is less of a hassle to use as it doesn’t take much effort to clean up.
Paint
To finalize your backyard pickleball court, you can paint the flooring however you please, but we recommend using 100 percent acrylic paint. Apply a minimum of two coats and use two different paint colors. It’s better to paint the kitchen zone in another color to make it really stand out.
Surface Coating (Optional)
When it comes to surface coats, you have the option to apply Polyurethane, Acrolytex, or Plexiflor coatings. Read our article on pickleball court surfaces for more information on which to choose. Surface coatings are added on top of your concrete floor to increase ball response and lessen the pressure on your joints. They’re an optional expense but can be worth it if you suffer from knee and foot injuries.
Right Triangle (Optional)
If you want to ensure that your court measures exactly 90 degrees at each corner, purchase a right triangle straight edge. It’s basically a ruler shaped like a right triangle that designers use to accurately draw lines at various angles.
Fences (Optional)
Without a fence to keep everything in, the ball might travel more than out of bounds. It might end up in a place where it’ll be difficult for you to retrieve it, like a river, a busy intersection or your grumpy neighbor’s yard. A fence that stands anywhere between four to ten feet tall should do the trick.
Lighting (Optional)
If you want to play pickleball at night, add a few lighting fixtures around your court so you can see in the dark. Remember to position the lights in a way that you won’t get hit by the glare, which will affect your shot.
How Much Does a Backyard Pickleball Court Cost?
A backyard pickleball court’s cost depends on the type of court you are trying to build. A makeshift DIY pickleball court made out of chalk and a portable net will cost less than a permanent hardcourt.

So exactly how much does it cost to build a pickleball court in your backyard? For a makeshift or temporary court, you’ll need to shell out at least $80 to $100. This is if you buy the cheapest portable pickleball net and chalk and if your backyard is already concrete.
A permanent DIY court will set you back even more than that, depending on the cost of paint, waterproofing, and other materials. If you want to go all out and build yourself a standard, tournament-grade pickleball court in your backyard, you’ll need to budget around $40,000 to $45,000.
Backyard Pickleball Court Maintenance Cost
A pickleball court that is built properly and maintained well should last up to 10 to 15 years.
It costs about $300 to $1,000 a year to maintain a standard pickleball hardcourt, depending on how often the court is used. Paint will wear off quickly with a lot of daily foot activity. Cracks also frequently appear on outdoor courts and need to be fixed right away to prevent further damage.
Resurfacing your pickleball court will cost about $500 to $1,500, and you’ll need to do this every three to five years, once the acrylic surface coating wears off from frequent use. It’s expensive, but remember that surface coatings protect your cement. Without protection, a court will start to crack in just five to eight years—if you’re lucky. Redoing the cement and fixing larger cracks is much more expensive than recoating.